How to Cut a Barbie Dress Cake? : Step-by-Step Guide
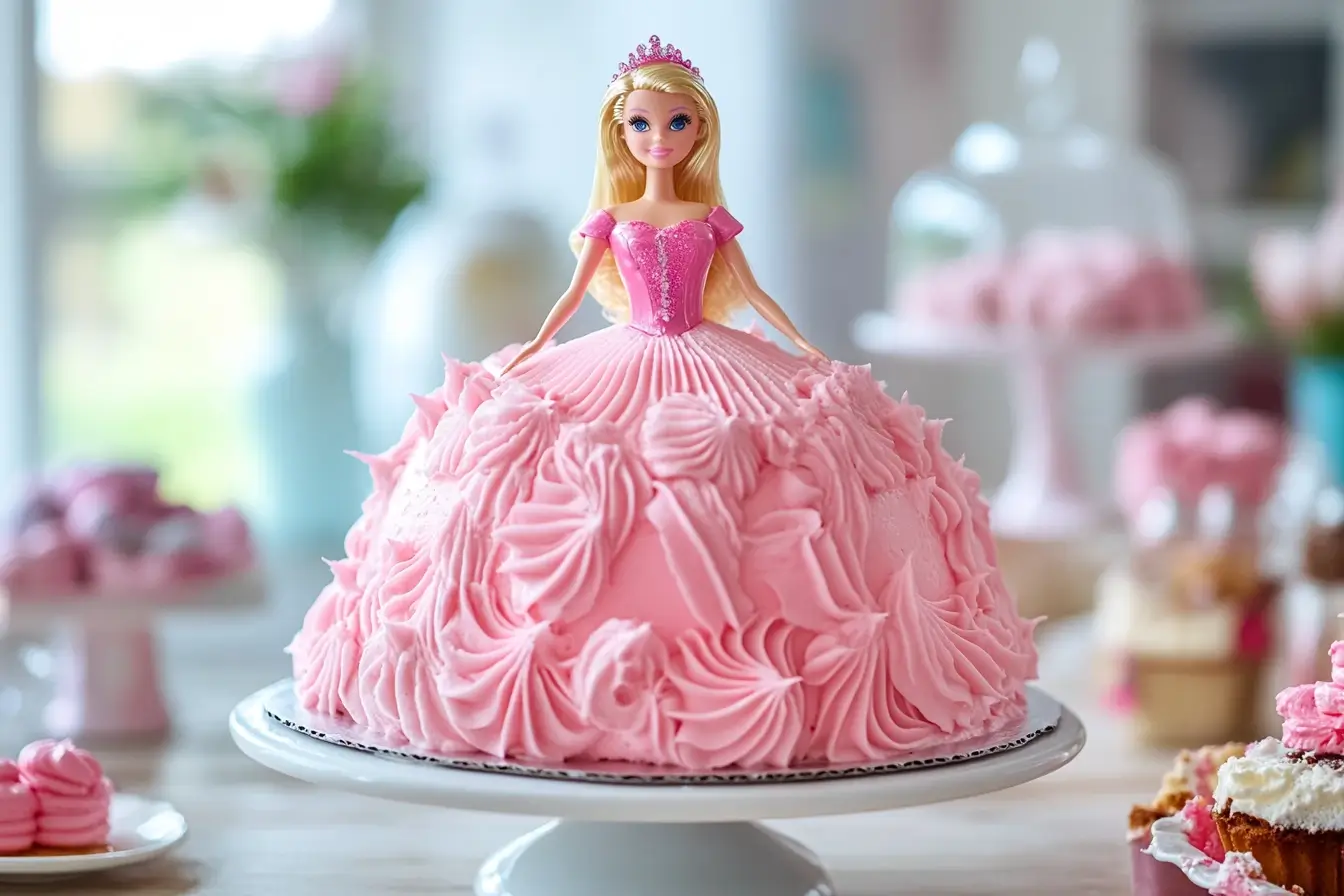
A Barbie dress cake is not only a beautiful centerpiece for birthdays and special occasions but also a delightful treat that everyone looks forward to enjoying. However, the unique dome shape and the doll in the center can make cutting it a bit challenging. Knowing how to cut a Barbie dress cake properly ensures that you serve beautiful, even slices without damaging the intricate design or crumbling the layers.
In this step-by-step guide, we’ll walk you through how to cut a Barbie dress cake efficiently, preserving its presentation while ensuring that each guest gets a delicious slice.
Why Cutting a Barbie Dress Cake Is Tricky
Before diving into the steps, it’s essential to understand why cutting a Barbie dress cake can be tricky. Unlike a traditional round or sheet cake, a Barbie cake is dome-shaped, with the doll standing in the center. This unique shape and structure can make it challenging to get even slices, and the height of the cake adds an extra layer of complexity. Let’s explore some of the difficulties that arise when cutting this cake.
- Dome Shape: Barbie dress cakes have a rounded dome shape, meaning the top of the cake is smaller in diameter than the base. As a result, slicing the cake evenly requires careful precision. The uneven height means that the slices from the top of the cake will be much smaller compared to the larger slices from the bottom.
- Central Doll: The central Barbie doll acts as an obstruction during the cutting process. You must work around it while ensuring that you don’t damage the doll or accidentally knock it over. Additionally, the doll can sometimes be anchored with a stick or cake dowel to keep it upright. These structures add extra complexity when cutting.
- Multiple Layers: Barbie cakes often contain multiple layers with different fillings and frostings. Cutting through these layers evenly can be challenging because the different textures and fillings can cause the layers to shift or crumble. Additionally, if the cake has soft fillings like whipped cream or mousse, they may ooze out if not cut properly.
Understanding these challenges will help you approach cutting the cake more thoughtfully. With proper planning, you can maintain the cake’s beautiful appearance while serving perfect slices. Let’s move on to the actual steps that will show you exactly how to cut a Barbie dress cake with ease.
Step-by-Step Guide on How to Cut a Barbie Dress Cake
1. Prepare the Tools You’ll Need
Before you even start cutting the Barbie dress cake, it’s essential to have the right tools on hand. Proper tools make cutting easier, allowing you to cut cleanly without damaging the cake’s structure. For instance, knowing the right tools for cake-making can be as vital as choosing the right ingredients, as demonstrated in this Easy Creamy Chicken Potato Soup Recipe where each ingredient serves a crucial role in the outcome. Here’s what you’ll need:
- Sharp, Long Knife: A sharp, serrated knife is essential for cutting through the dome shape and the different layers of the cake. The serrated edge will help you make clean cuts without squashing the cake, especially when cutting through thick layers of frosting and sponge.
- Small Paring Knife: For smaller, more detailed cuts around the Barbie doll and to remove any decorative elements, a small paring knife is helpful. It provides better control when making precise cuts in smaller sections of the cake.
- Cake Server or Flat Spatula: A cake server or a flat spatula helps lift each slice of cake cleanly onto serving plates. Without a proper tool to transfer the slices, they can easily crumble or lose their shape.
- Serving Plates: Ensure you have enough plates ready to serve the cake slices. For special occasions, you may want to use themed plates that match the Barbie design.
- Paper Towels or Cloth: Keep paper towels or a clean cloth handy to wipe the knife between cuts. This is particularly important if the cake has multiple fillings, as it prevents the knife from smearing different layers across slices.
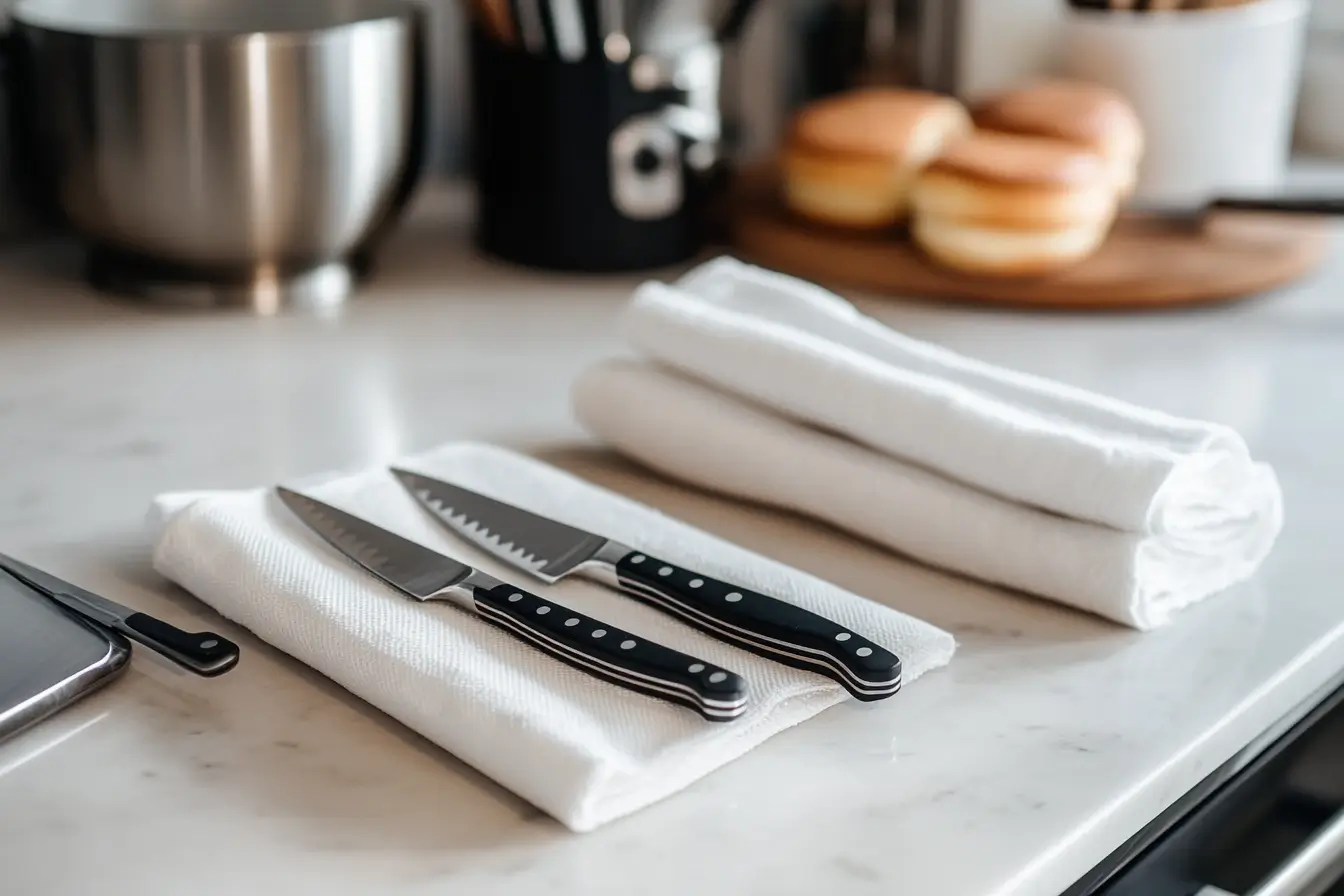
By preparing your tools in advance, you’ll be ready to cut through the cake with precision and ease.
2. Remove the Barbie Doll
The Barbie doll in the center of the cake serves as a stunning decorative element, but it can also be an obstacle when it’s time to slice the cake. The first step in cutting a Barbie dress cake is to carefully remove the doll. This not only makes cutting easier but also protects the doll from damage.
- Begin by gently holding the doll by the waist or upper body.
- Slowly pull the doll upward, lifting it out of the cake. You may need to wiggle it slightly to loosen it if it’s stuck in the frosting.
- In many cases, the doll is supported by a cake dowel or a stick inside the cake for stability. If this is the case, carefully remove the dowel along with the doll.
Once you’ve removed the doll, set it aside on a clean surface. If the doll’s dress is covered in frosting, use a napkin or paper towel to wipe it clean before displaying it near the cake or giving it to the guest of honor.
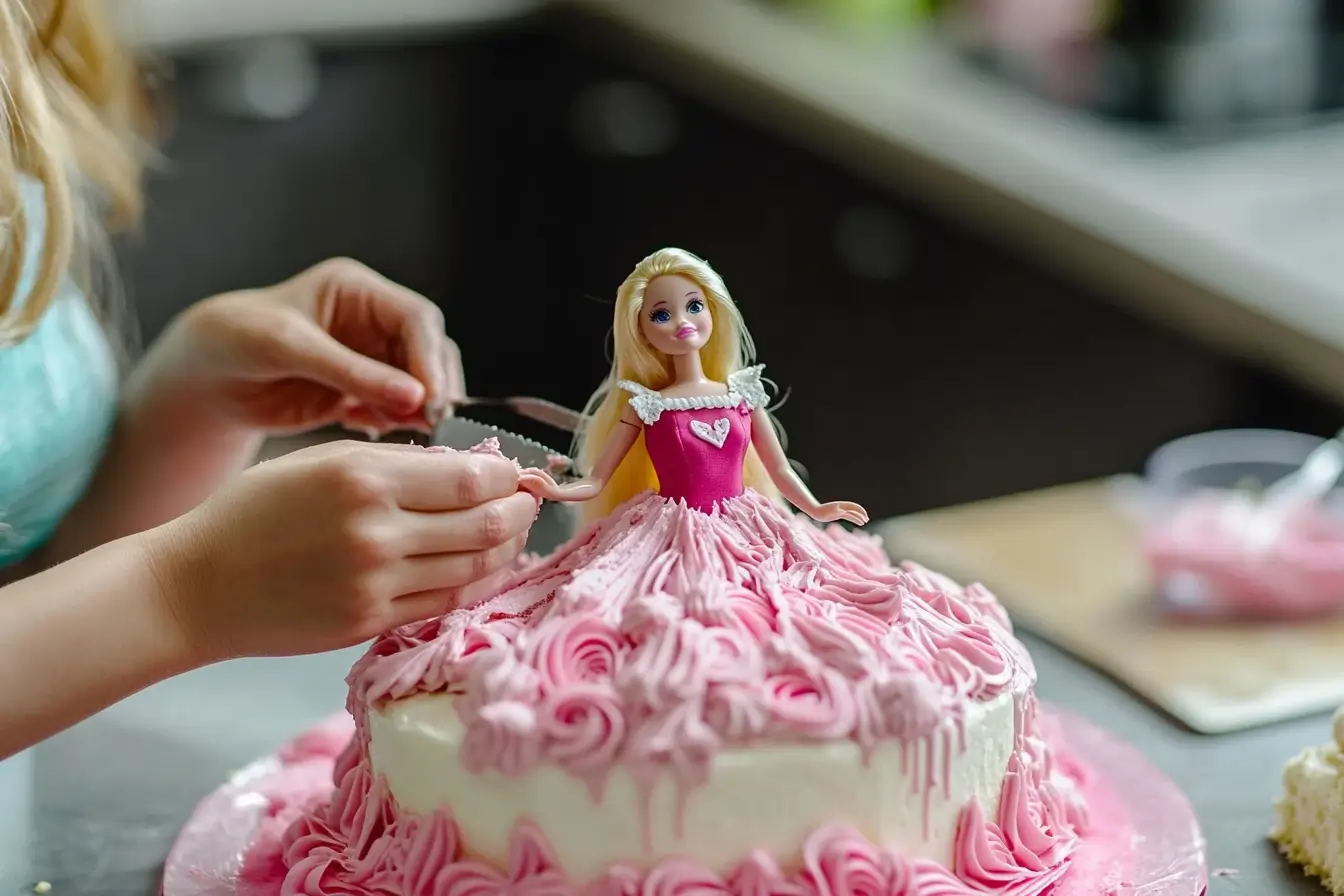
Additionally, you might need to patch the hole left in the center of the cake. Some bakers choose to fill it with extra frosting or even a small piece of cake to maintain the cake’s presentation. This step is optional but can enhance the look of the cake after the doll is removed.
3. Score the Top of the Cake
Before making the full cuts, it’s a good idea to score the top of the cake lightly. Scoring the cake means lightly marking where you plan to cut, which gives you a reference point and makes it easier to keep your cuts uniform. Similarly, learning to use scoring and precise techniques in recipes like Boiling Potatoes in Chicken Broth can dramatically affect the outcome, ensuring consistency in both cooking and serving.
- Use the serrated knife to gently score the top of the cake in a circular motion around the dome. Don’t cut too deep—just enough to mark the surface.
- Decide how many slices you want to create. For a standard Barbie dress cake, you can typically aim for 8 to 12 slices depending on the size. Larger cakes may allow for more slices.
- Mark the sections where you’ll make your cuts. You can imagine the cake as a pie and score lines radiating out from the center of the dome to the edge of the base.
Scoring the cake first ensures that your cuts will be even, and it provides a guide for you to follow. Plus, this technique prevents mistakes during cutting, especially if you’re nervous about maintaining the cake’s appearance.
4. Start Cutting from the Top
Once you’ve scored the cake, you can begin cutting. It’s best to start at the top of the dome, as this is the smallest section of the cake and requires careful attention. The top layer is often the most delicate, so you’ll need to cut gently to prevent crumbling.
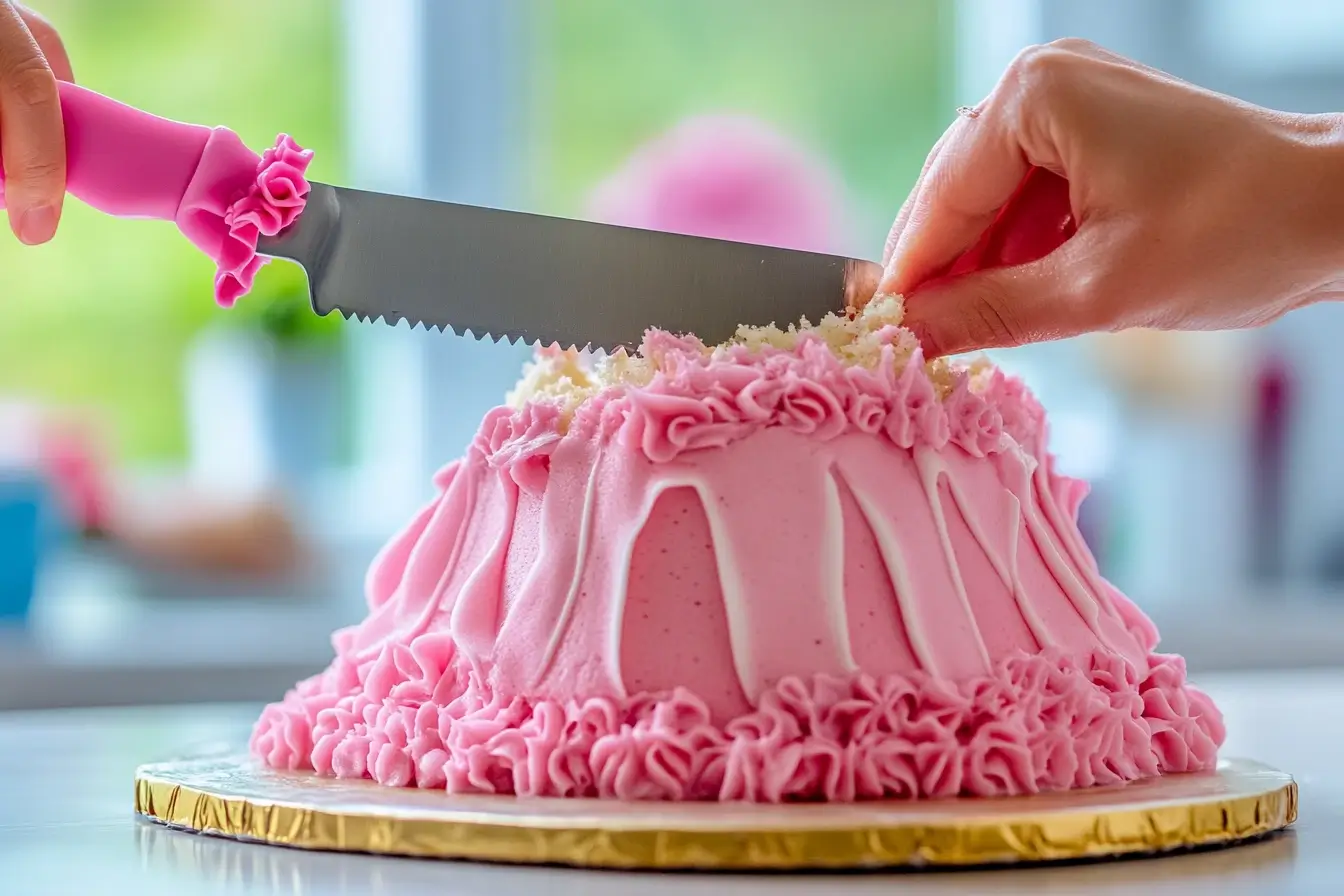
- Using your serrated knife, start cutting from the top center of the dome. Follow the scored lines as you make each slice.
- Saw gently back and forth with the knife as you work your way down through the layers. The serrated knife will help you cut through the different textures without crushing the cake.
- Once you’ve cut the first wedge, move to the opposite side of the cake to cut a second wedge. This way, you can lift out a more balanced piece.
Use the cake server or flat spatula to carefully lift each slice and transfer it to a plate. Because the top slices are smaller and more delicate, it’s important to move them slowly to avoid breakage.
5. Move to the Middle Section
After removing the top portion of the cake, you’ll work your way down to the middle layers. These layers may have different fillings, so it’s important to handle them with extra care.
- Start by following the scored lines from the top, cutting down through the middle layers.
- Wipe the knife with a paper towel after each cut to prevent smearing frosting or fillings between slices.
- Take your time as you remove each wedge. The middle of the cake often contains layers of frosting or fillings, which can shift or ooze out if not cut properly.
Cutting slowly and wiping the knife frequently ensures each slice remains clean and visually appealing. The middle section is often where the flavor variations shine, so you want to present it beautifully to your guests.
6. Cut the Base of the Cake
Finally, it’s time to cut the base of the Barbie dress cake. This is the largest and most stable part of the cake, so it’s usually easier to handle compared to the top and middle sections.
- The base slices will be larger, so make sure you cut them into manageable portions. This ensures that guests won’t receive overly large pieces that might be difficult to eat.
- Continue to follow the scored lines, cutting through the remaining layers.
- Use the cake server to lift each slice and place it on a serving plate.
Because the base is thicker and more stable, it should be relatively easy to handle. However, don’t rush this step—take your time to make sure each slice remains intact.
7. Serve and Enjoy
Now that the cake is cut, you can serve each slice to your guests. Since Barbie dress cakes are often the centerpiece of a celebration, serving the cake in an elegant manner adds to the experience. Consider using decorative plates or serving accessories to enhance the presentation.
Additionally, remember that not all guests may want large slices. Some may prefer smaller portions, especially younger children. You can use the paring knife to further divide slices if necessary, ensuring that everyone gets the right amount.
Tips for Cutting a Barbie Dress Cake Neatly
Even with careful planning, cutting a Barbie dress cake can sometimes be messy. To ensure you serve neat, beautiful slices, here are some extra tips:
- Use a Hot Knife: Dip your knife in hot water and wipe it clean before each cut. The heat helps the knife glide smoothly through the frosting and cake layers, reducing crumbs and keeping the slices neat.
- Cut Smaller Slices: If you notice that the cake is starting to crumble, try cutting smaller slices. This reduces the weight of each piece and prevents the layers from falling apart.
- Refrigerate the Cake: Chilling the cake in the refrigerator for 30 minutes to an hour before cutting can help firm up the layers, making it easier to cut clean slices. This is especially helpful for cakes with soft fillings or whipped cream frosting.
- Work Slowly: Patience is key when cutting a Barbie dress cake. Rushing through the process increases the likelihood of uneven slices or crumbling layers.
By using these tips, you’ll maintain the integrity of the cake while ensuring that every guest receives a perfectly sliced piece.
How Many Slices Can You Get from a Barbie Dress Cake?
One common question is how many slices you can expect from a Barbie dress cake. The number of servings depends on the size of the cake, the layers, and the way it’s cut.
- Standard Barbie Cake (8 inches): For an average-sized Barbie cake, you can typically get 12 to 16 slices. This size is ideal for smaller birthday parties or gatherings.
- Larger Barbie Cakes (10-12 inches): For larger parties, a bigger Barbie cake can yield 18 to 24 slices. You can cut smaller slices for children and larger ones for adults.
To ensure everyone at the party gets a piece, it’s a good idea to plan ahead. If your guest list is large, you may want to supplement the Barbie dress cake with additional desserts, such as cupcakes or sheet cakes.
Conclusion
Cutting a Barbie dress cake may seem daunting at first, but with the right tools and technique, you can do it with ease. By following the steps outlined in this guide—removing the doll, scoring the cake, and cutting it from top to base—you’ll ensure each slice is served beautifully. If you are curious about other techniques that enhance the dining experience, you might also be interested in learning how Pineapple Juice Before Bed Can Improve Sleep, which adds a refreshing touch to a well-planned event.
Whether you’re hosting a birthday party or a special celebration, learning how to cut a Barbie dress cake ensures that everyone enjoys a delicious slice while the cake remains the star of the show. Plus, with the added tips for neat slicing and portion control, you’ll keep your guests happy and your cake presentation flawless.
So, the next time you’re faced with the question, “How to cut a Barbie dress cake?”—you’ll have all the knowledge needed to serve it perfectly, ensuring a memorable and fun celebration for all!


