Why This Recipe?
Who doesn’t love a rich, creamy chocolate bar that melts in your mouth? This homemade chocolate bar recipe is not only delicious but also incredibly simple to make. Perfect for beginners, it’s designed for anyone who wants to whip up a quick treat without the hassle of complicated techniques or hard-to-find ingredients. Whether you’re a busy parent, a student in need of a snack, or a health-conscious individual seeking control over ingredients, this recipe offers something for everyone.
Control Your Ingredients
Making a chocolate bar at home offers much more than just a fun kitchen project. In fact, it allows you to control the quality of ingredients, avoid unnecessary additives, and customize your treat to suit your preferences. You’ll be surprised at how easy it is to make your own chocolate bar, even if you’ve never attempted candy-making before. Furthermore, this recipe is a great way to introduce kids to cooking because it’s simple, enjoyable, and results in a sweet treat everyone will love.
Perfect for Gifting
Additionally, there’s something satisfying about creating a chocolate bar from scratch. Homemade chocolate bars make excellent gifts, impressive party favors, or an indulgent reward after a long day. Plus, they’re far more versatile than store-bought chocolate bars. With this recipe, you’ll be able to experiment with different flavors, textures, and ingredients, ensuring that each batch is unique.
Ingredients and Substitutes
Ingredients
- 200g dark chocolate (or milk chocolate if preferred)
- 50g cocoa butter
- 1 teaspoon vanilla extract
- 2 tablespoons maple syrup (or sweetener of choice)
- Optional: nuts, dried fruits, sea salt, or coconut flakes for texture and flavor
Substitution Options
- Dark Chocolate: Substitute with milk or white chocolate for a milder flavor. Moreover, if you prefer something sweeter, these alternatives are ideal. For an extra indulgence, you can also use flavored chocolate bars such as mint, orange, or caramel.
- Cocoa Butter: If unavailable, use coconut oil, though it will slightly alter the texture. However, it remains a good alternative. Be mindful that using coconut oil will make the chocolate bar softer, so you may want to store it in the fridge longer to maintain firmness.
- Maple Syrup: Feel free to swap this out with honey, agave syrup, or any preferred sweetener. In addition, stevia or erythritol can be used for a sugar-free version. Each type of sweetener will affect the flavor and texture slightly, so you might want to experiment with different options to see what works best for you.
For those with specific dietary needs, such as gluten intolerance or vegan preferences, this chocolate bar recipe is easily adaptable. Be sure to use dairy-free chocolate and sweeteners that align with your dietary choices. This flexibility makes the recipe appealing to a wide audience, from health-conscious individuals to those with strict dietary restrictions.
Step-by-Step Instructions
1. Prepare the Ingredients
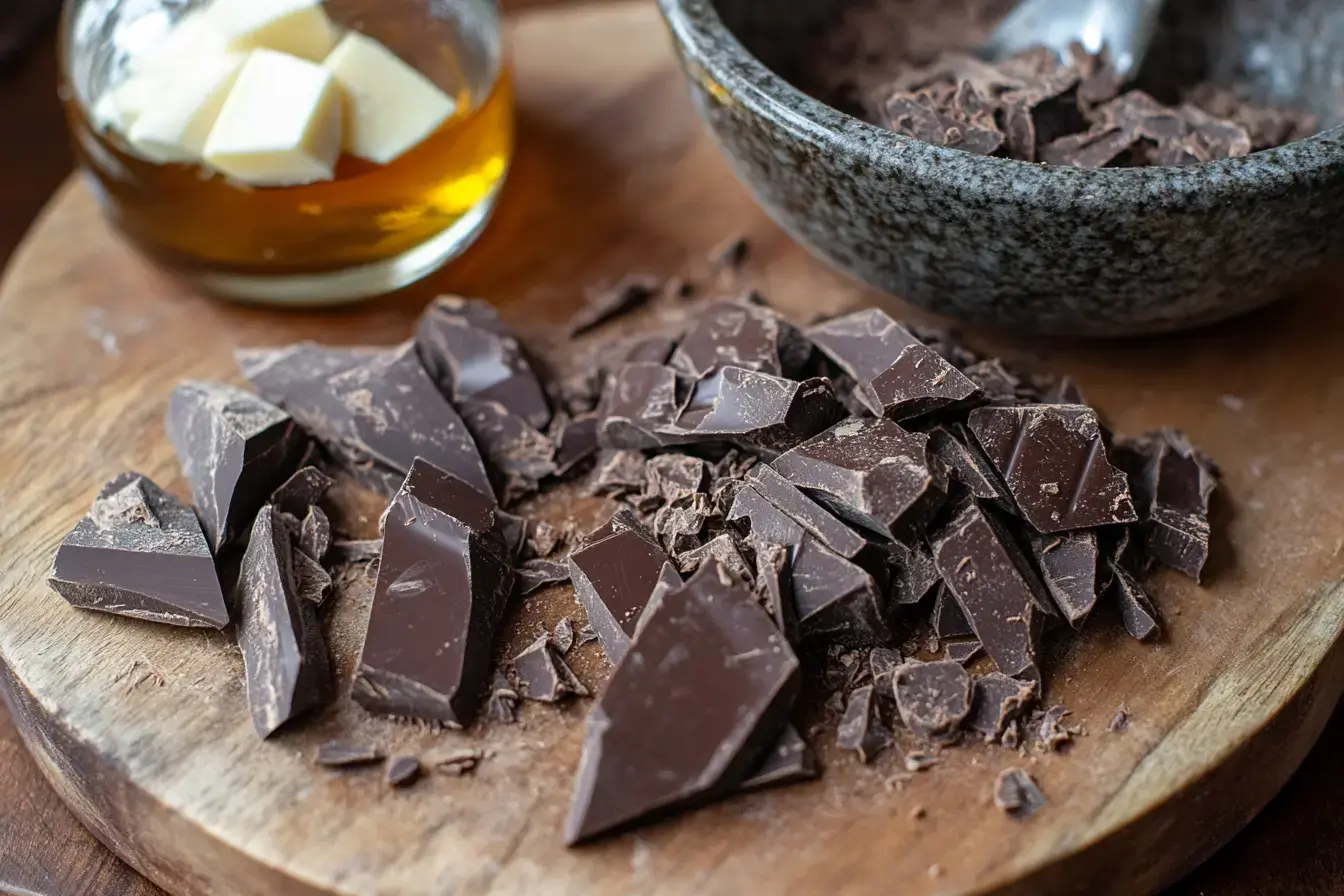
Begin by breaking the dark chocolate into small pieces for easier melting. Additionally, chop the cocoa butter into small chunks if it’s not pre-measured. This step is key to ensuring even melting, which will give you a smooth, glossy chocolate bar mixture.

2. Melt the Chocolate and Cocoa Butter
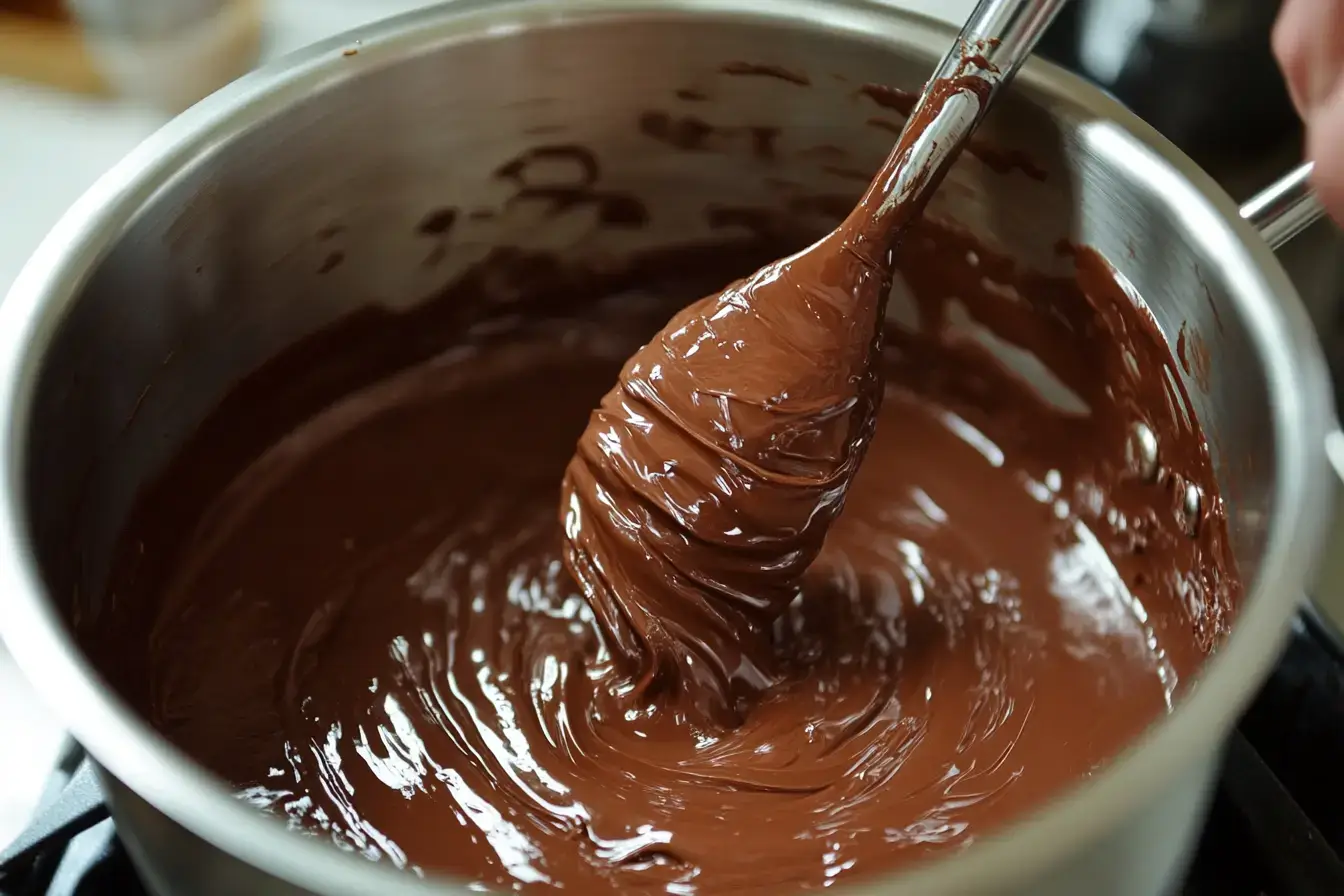
In a double boiler, gently melt the chocolate and cocoa butter over low heat. Stir occasionally to ensure a smooth texture. Tip: If you don’t have a double boiler, place a heatproof bowl over a pot of simmering water. Alternatively, you could use a microwave, but be sure to melt in short bursts to avoid burning the chocolate. If using a microwave, stir every 20-30 seconds to prevent overheating.

3. Add the Sweetener and Vanilla
Once the chocolate bar mixture is fully melted, remove it from heat and stir in the maple syrup and vanilla extract. Continue stirring until all the ingredients are well combined. Furthermore, be sure to taste it at this point, adjusting sweetness as needed. This is the stage where you can experiment with flavors. For example, adding a pinch of cinnamon or chili powder can elevate the complexity of your chocolate bar.
4. Pour into Mold
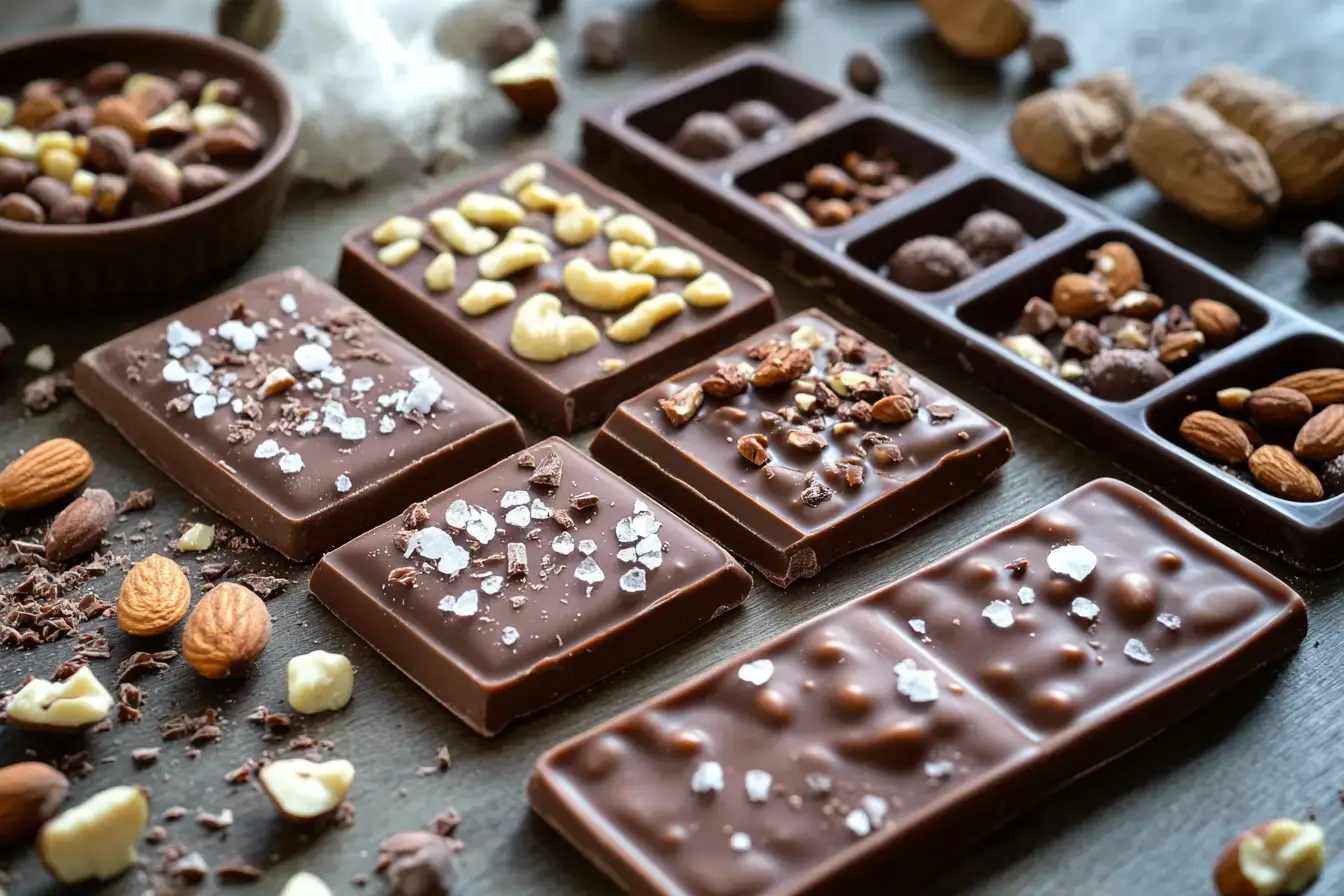
Pour the mixture into silicone molds or a lined baking dish. If you’re adding mix-ins like nuts or dried fruit, now’s the time to sprinkle them on top or mix them into the chocolate. This step is especially important if you want evenly distributed flavors throughout the chocolate bar. Be sure to tap the mold gently on the countertop to remove any air bubbles that may have formed.
5. Chill and Set
Place the mold in the refrigerator for at least 2 hours or until the chocolate bar is completely set. If you’re in a hurry, pop it into the freezer for 30 minutes. As a result, the bars will firm up faster. Once set, the chocolate bar will pop out of the molds easily, revealing a perfectly smooth and shiny surface.
6. Cut and Serve
Once set, remove the chocolate bar from the molds or slice it into pieces if using a baking dish. Now, your homemade chocolate bars are ready to enjoy! You can serve them as-is or wrap them in decorative paper for gifting.

Tips and Tricks
- Use Quality Chocolate: The better the chocolate, the better the flavor. Opt for at least 70% dark chocolate for a rich, indulgent taste. Additionally, quality chocolate is easier to work with during melting. If you’re feeling adventurous, you can try single-origin chocolate bars, which offer unique flavor profiles depending on the region where the cocoa beans were grown.
- Avoid Overheating: Be careful not to overheat the chocolate, as it can cause it to seize and become grainy. Moreover, this step is key to maintaining a smooth texture. If your chocolate bar seizes, don’t panic—adding a small amount of coconut oil or milk can help to rescue it.
- Make-Ahead Tip: You can make a large batch of chocolate bars and store them in the fridge for up to two weeks, or freeze them for even longer. Furthermore, these bars make a great last-minute gift or snack. Consider storing the chocolate bar in individual wrapping for an on-the-go treat.
- Freezing: Wrap individual chocolate bars in parchment paper and store them in an airtight container in the freezer. This way, you’ll always have a treat ready whenever you need one. Additionally, freezing the chocolate bars doesn’t affect their texture much, so they’ll taste just as good as fresh.
Variations and Dietary Adjustments
- Vegan Option: To make this recipe vegan, ensure you use dairy-free chocolate and replace honey with agave syrup or maple syrup. Additionally, check that any added mix-ins are also vegan-friendly. This variation is ideal for those following a plant-based diet but still craving a rich chocolate bar.
- Nut-Free: If you’re avoiding nuts, consider adding seeds like chia or sunflower seeds for crunch. This ensures a satisfying texture without any allergens. You could also try adding puffed rice for a light, crispy element.
- Sugar-Free: For a sugar-free version, use sugar-free chocolate and replace sweeteners with a low-calorie substitute like stevia. Consequently, you can enjoy a guilt-free chocolate bar. This version is perfect for those watching their sugar intake but still wanting to indulge in something sweet.
Serving Suggestions
- With Coffee or Tea: Serve these chocolate bars alongside a cup of coffee or herbal tea for a relaxing treat. Furthermore, the richness of the chocolate complements the bitterness of coffee. This pairing is especially popular in the afternoon when you need a quick pick-me-up.
- Dessert Topping: Chop the chocolate bars into chunks and sprinkle them over ice cream, yogurt, or oatmeal for an extra indulgence. In addition, this adds texture and flavor to otherwise plain dishes. The contrast between the cold ice cream and the rich chocolate bar creates a perfect balance of flavors and textures.
- Gift Idea: Wrap the chocolate bars in pretty paper and tie with a ribbon for a homemade gift that’s sure to impress! Moreover, these make thoughtful and personalized presents for loved ones. For an extra touch, consider adding a handwritten label with the recipient’s name.
Nutritional Information
| Nutrient | Amount (per chocolate bar) |
|---|---|
| Calories | 150 |
| Carbs | 12g |
| Protein | 2g |
| Fat | 10g |
| Fiber | 3g |
| Sugar | 8g |
Health Benefits
- Dark Chocolate: Rich in antioxidants and heart-healthy fats, dark chocolate is known to lower blood pressure and improve brain function. Moreover, it contains minerals like magnesium and iron, which support overall health. Eating dark chocolate in moderation can even improve mood due to the release of endorphins.
- Cocoa Butter: A source of healthy fats, cocoa butter can help support skin health and provide a silky-smooth texture to your chocolate bar. Additionally, cocoa butter has anti-inflammatory properties, making it beneficial for overall wellness.
History and Cultural Significance
Chocolate bars have a long and varied history. The modern chocolate bar, as we know it, dates back to the early 19th century, when chocolate production techniques allowed for solid chocolate to be molded. Consequently, this revolutionized the way people consumed chocolate, moving from liquid forms to portable, solid treats. Throughout the world, different cultures have adapted the chocolate bar, adding their own local flavors like spices, nuts, or fruits. Moreover, these cultural adaptations have expanded the versatility of the chocolate bar.
In particular, the rise of gourmet chocolate bars has been a significant trend in recent years. Artisanal chocolatiers experiment with unique flavor combinations, such as sea salt and caramel, chili and dark chocolate, or lavender and white chocolate. This has turned the humble chocolate bar into a luxurious treat. As a result, making your own homemade chocolate bars gives you the freedom to create these flavors at home for a fraction of the cost.
Ingredient Spotlight: Dark Chocolate
Dark chocolate is the star of this recipe. Known for its rich, deep flavor, it’s not just delicious but also loaded with nutrients. Furthermore, it provides a wonderful base for a variety of other flavors. When selecting dark chocolate, look for bars that contain at least 70% cocoa for the most health benefits. Additionally, higher cocoa content contributes to the smooth texture of your chocolate bar.
Dark chocolate is also versatile in other recipes. It can be used in baking, melted into sauces, or even enjoyed as a snack on its own. Its complex flavor profile pairs well with both sweet and savory ingredients, making it an essential ingredient in any kitchen.
Cooking Equipment
- Double Boiler: Essential for melting chocolate without burning it. A double boiler allows you to melt the chocolate gently, ensuring a smooth texture. If you don’t have one, you can improvise by using a heatproof bowl over a pot of simmering water.
- Silicone Molds: These flexible molds make it easy to pop the chocolate bars out once they’ve set. You can also get creative with different shapes and sizes, making your chocolate bars visually appealing. Heart-shaped or star-shaped molds are great for special occasions.
- Spatula: A good silicone spatula helps to scrape every last bit of chocolate from the bowl. Moreover, it ensures even mixing of all ingredients.
Storage and Reheating Tips
- Storage: Store your chocolate bars in an airtight container in the fridge to keep them fresh for up to two weeks. Additionally, ensure the bars are tightly sealed to prevent moisture from affecting the texture.
- Reheating: If you’d like to enjoy them slightly melted, pop one in the microwave for a few seconds, but be careful not to overheat. In addition, this quick step adds a gooey texture that many enjoy.
Frequently Asked Questions (FAQs)
- Can I use milk chocolate instead of dark chocolate?
Yes! Feel free to swap in milk or white chocolate for a sweeter, milder flavor. Keep in mind that milk chocolate contains more sugar, so you may want to reduce the amount of additional sweeteners. - What mix-ins work best?
Nuts, dried fruits, coconut flakes, or even a sprinkle of sea salt can enhance the flavor and texture of your chocolate bar. You can also try adding spices like cinnamon or cardamom for a unique twist. - How can I prevent the chocolate from sticking to the mold?
Using silicone molds helps avoid sticking, but you can also lightly grease the molds with a bit of oil if you’re concerned. Alternatively, you can line a baking dish with parchment paper for easy removal.
Budget-Friendly Tips
- Buy in Bulk: Purchase your chocolate and cocoa butter in bulk to save money. Additionally, buying in larger quantities allows you to make multiple batches of chocolate bars for a fraction of the cost of store-bought treats.
- Make Your Own Molds: If you don’t have silicone molds, simply line a baking dish with parchment paper and cut the bars once set. This way, you can still enjoy homemade chocolate bars without spending extra on special equipment.
Kid-Friendly Adaptations
- Lower the Bitterness: If kids find dark chocolate too bitter, mix in some milk chocolate or add extra sweeteners. Additionally, you can top the chocolate bars with colorful sprinkles or marshmallows to make them more fun and visually appealing for younger eaters.
- Fun Shapes: Use fun-shaped molds, like animals or stars, to make the chocolate bars more appealing to children. Involving kids in the process of pouring the chocolate into molds can also be a fun and educational activity.
Conclusion
Now that you’ve learned how to make your very own chocolate bars, there’s no going back to store-bought! This recipe is not only easy but also endlessly customizable. Whether you enjoy them plain or loaded with toppings, these homemade chocolate bars are sure to be a hit with family and friends. Try it out, and don’t forget to share your own variations in the comments. Furthermore, we’d love to see how you personalize this chocolate bar recipe to suit your tastes!
